SETTING UP AN APP PROJECT
The first thing you need to do before you start editing is creating a project which will give you the basics in order to edit, I followed these steps in order to create a APP project:
1. Open Adobe Premiere Pro
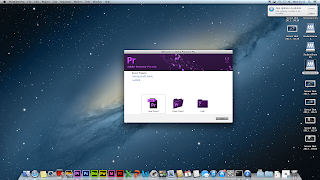
2. Click on 'Create New Project'
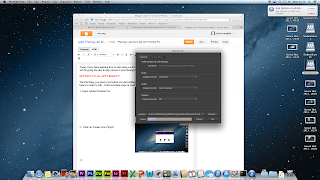
3. You can change the location in which the project will be found in by changing the location drop down arrow, you can also name your project, once you are happy then you can continue.
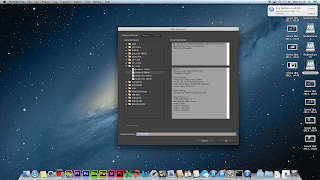
4. You can also change the projects presets through this next stage, I do not need to so I will just continue
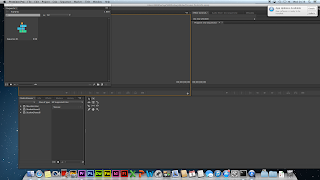
5. You have now finished creating a new project, you now have the tools to be able to start importing and editing video clips.
IMPORTING FILES TO APP
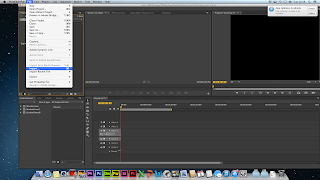 To be able to start editing video clips you need to firstly import them onto your APP, to do this you have to go:
File > Import.. > Choose the video clips you wish to import.
CONSTRUCTING A PROJECT USING THROUGH THE USE OF 'MARK IN' AND 'MARK OUT' TO SELECT FOOTAGE
 To be able to select certain points of your footage which you need in your video, you will need to use the 'Mark In' and 'Mark Out' buttons to move that footage onto the timeline. The 'Mark In' and 'Mark Out' buttons will be found below the 1st screen on your APP.
USING VIDEO AND AUDIO TRANSITIONS
To edit my video to make it look good and run smoothly, I have to use transitions. On APP there is an option which allows you to put in transitions onto your video's, below is how you put them onto your clips.
1. Once on the APP menu you have the option in the bottom left hand corner to pick video transitions or music transitions, once you have found the transition you would like to use, simply drag it onto the timeline onto the clip you wish the transition to be on.
EXPORTING PROJECT TO CREATE A QUICKTIME MOVIE
To be able to export my video onto YouTube i firstly need to export the video from APP into a quicktime movie, to do this I followed the instructions below:
1. Once you are on the APP menu go to:
File > Export...
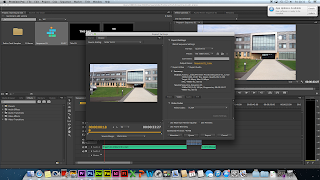
2. Next you will receive this new box which gives you various different options, it is best to leave everything alone apart from the video format, the default format setting is 'Quicktime' but you can change it to different formats depending on what you want to use the video for.
FINISHED VIDEO EDIT
Once I had exported the APP project to a quicktime movie this allowed me to be able to put my short video onto YouTube, below is the final edit I put together using various different filmed clips. I believe that the clips shows that I have a clear understanding on how to edit using Premiere Pro.


No comments:
Post a Comment